How to Put iPhone, iPad and iPod into Recovery Mode
We need to put iPhone or iPad into recovery mode when the device is non-responsive and not recognized by iTunes. While recovery mode is able to restore iPhone or iPad to make it a totally new device, it will also delete all data on it. So it's not recommended to put your iPhone or iPad into recovery mode if you don't have any backup in advance. But if it's a must-do situation, you can follow the instructions below to perform a recovery-mode restore for your iPhone or iPad. Besides, if you lost all the files after recovery mode, you can easily get them back with iOS Data Recovery tool.
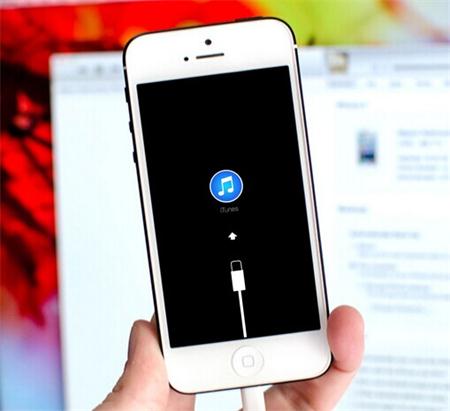
Now follow the steps below to put your iPhone or iPad into recovery mode.
Step 1. Disconnect the USB cable from the iPhone or iPad while leaving the other end of the cable connected to your computer.
Step 2. Power off your iPhone or iPad by holding the Power button for a few seconds until the red bar appears: swipe to shut it down.
Step 3. Connect the USB cable to iPhone or iPad while continuing to press the Home button.
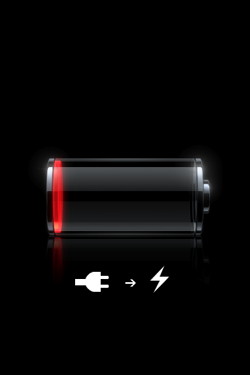
Note: When you reconnect the USB cable to iPhone or iPad, the device should turn on. If the image of a battery appears, let the device charge for at least ten minutes to ensure that the battery has some charge, and then start with Step 2 again.
Step 4. You can release the Home button until you see the "Connect to iTunes" screen.
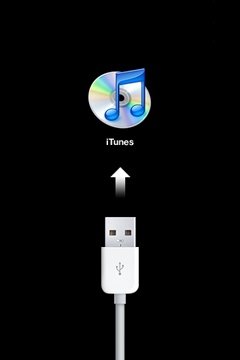
Step 5. Your iPhone or iPad is now in recovery mode, and iTunes should be displaying a message to say as much.
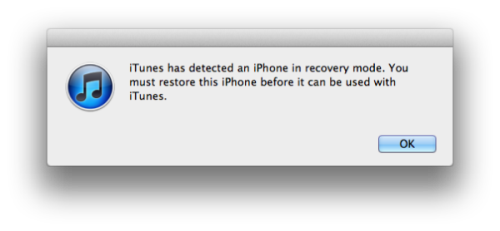
Note: If iTunes not open after two minutes, please open iTunes manually.
Step 6. You can now restore your iPhone or iPad with iTunes.
That's all! Just wait for your iPhone or iPad to reboot and you should be good to go again!
More words for you: If your iPhone got stuck in recovery mode, you can get it out of recovery mode with iPhone Data Recovery software.
Related Articles:
How to Fix An iPad Stuck in Recovery Mode
