How to Use (Windows) Go to Mac >>

Connect iDevice Scan iDevice or BackupRecover Your Data
Mode 1: Directly recover lost data from iPhone, iPad & iPod touch
iOS Data Recovery (Windows) allows you to recover lost data or deleted contacts, messages, call history, notes, calendars, reminders and safari bookmarks from iPhone 5S/5C/5/4S/4/3GS, iPad Air, iPad mini 2 (Retina), iPad mini, iPad with Retina display, The new iPad, iPad 2/1, and iPod touch 5/4.
Note: Please don't use your device after you lost data. Because any operation on your device will generate new data, which can overwrite the lost data and make it unrecoverable.
Run the program and connect your iOS device to computer
Launch iOS Data Recovery for Windows on your computer, and connect your iOS device to it. You'll get the window on the right.
Note: For iPhone 4/3GS, iPad 1 and iPod touch 4, you can switch to the "Advanced Mode" with the button at the lower-right corner.
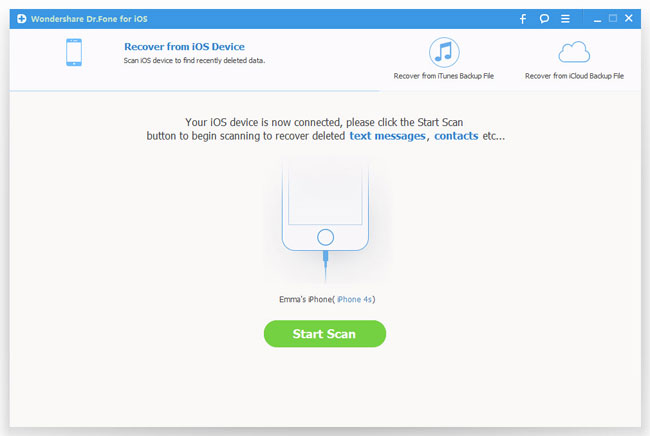
Begin scanning iOS device for lost data
Please simply click the "Start Scan" button shown above to get your iPhone, iPad or iPod touch devices scanned.
Note: For the "Advanced Mode", you can follow the description in the window to get your iPhone 4/3GS, iPad 1 and iPod touch 4 scanned deeply.
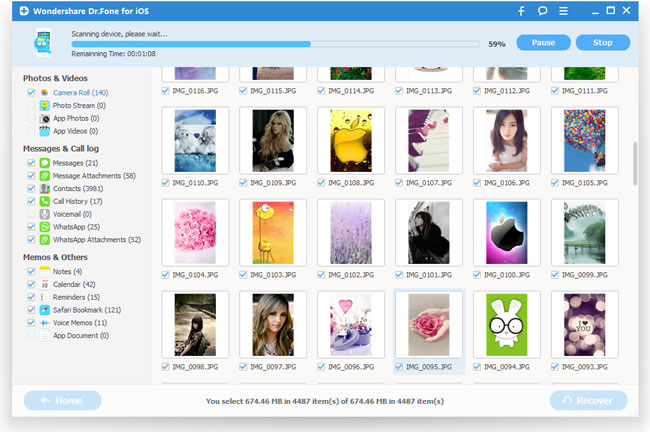
Preview and recover lost data from iOS device
Once the scan is completed, you can see the scanning result generated by the program. All data lost existing on your device will be displayed in categories. Choose the menu on the left side and preview the content one by one. You can tick any item you want and save it on your computer by clicking on the "Recover" button.
Mode 2: Recover data from iPhone, iPad & iPod touch with iTunes backup
With this data recovery mode, you are able to recover not only existing data in the backup, but also those data deleted from your device before you made the backup, as long as they were not overwritten.
Note: Please don't sync your iOS device with iTunes when you realized that you've lost data, or the iTunes backup file will be updated after the sync, which will make the lost data unrecoverable..
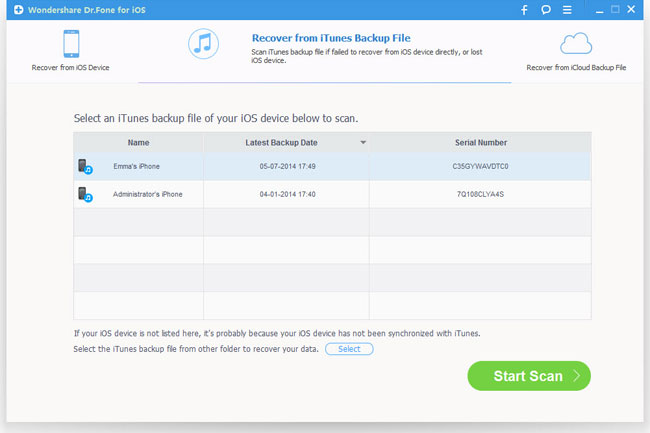
Choose iTunes backup and extract it
After launching the program, you'll be led to the Recover from iOS Device mode (the default mode). Switch to "Recover from iTunes Backup File" on the top of the primary window.
Here, all your iTunes backup files of your iPhone, iPad and iPod touch which have ever been synced with iTunes on this computer will be automatically found and listed. Select the one you want and click "Start Scan" button to extract it.

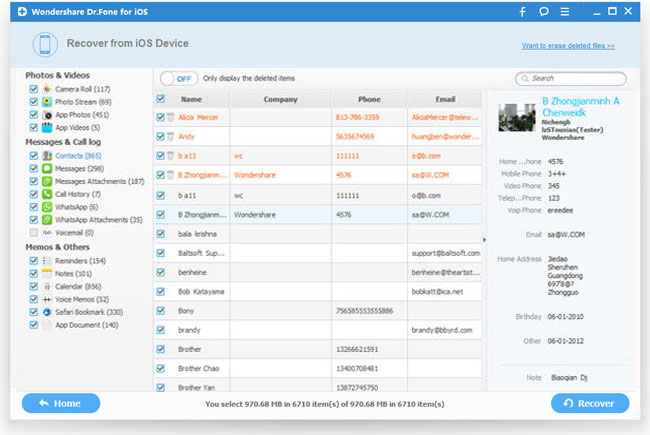
Preview and recover lost data
Wait for a while and all data in the backup file will be extracted and displayed in categories. You can preview them before recovery. Then you can selectively mark and recover those you need with the "Recover" button at the bottom.
Note: The data displayed in the scan result contains deleted and existing ones on your device. Both of them have their own color. If you want to separate them, you can use "Only display the deleted items" button.
Mode 3: Recover data from iPhone, iPad & iPod touch with iCloud backup
Haven't found the data from your iOS device and the iTunes backup file? Don't worry. Try the third way: recover it from your iCloud backup. With this recovery mode, you can preview and recover all data in your iCloud backup. Remember, don't back up your iOS device with iCloud immediately when you realized data loss.
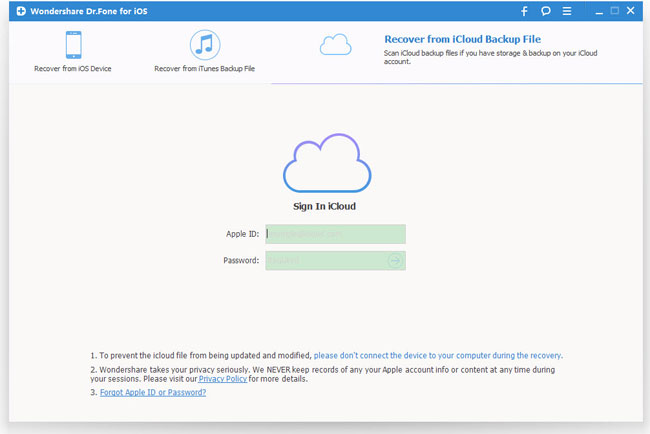
Choose iCloud recovery mode and Sign in account
After running the program, choose the recovery mode of "Recover from iCloud Backup Files" on the top. Then enter your iCloud account and password to log in.
Note: iOS Data Recovery Pro. takes your privacy seriously. We never keep a record of any your Apple account info or content at any time during your sessions.

Download and scan iCloud backup
When you logged into iCloud, the program will find all iCloud backup files in your account. Choose the ones where you're going to recover data and click on the "Download" button to get the data downloaded.
After that, you can scan the iCloud content. Click on the "Scan" button to begin.
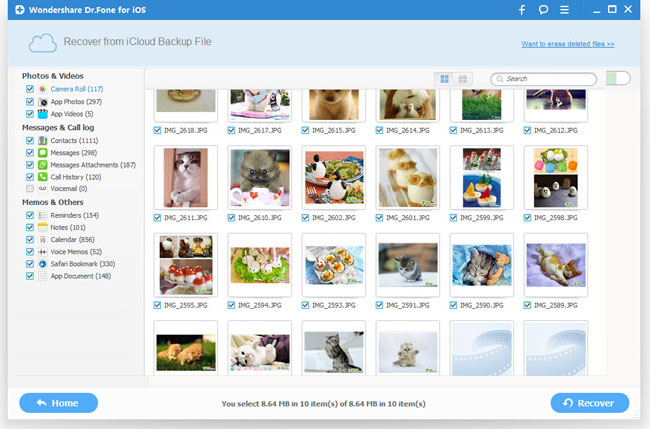
Preview and recover data from iCloud backup
Once the scan stops, you can preview almost all data in your iCloud backup file, like contacts, messages, photos, and more. Check and tick the items you want. Click on the "Recover button" to save them on your computer.
Note: Before you exit the program, you can back to the home screen to delete the downloaded iCloud backup from your computer, so that there is no way for others to access it on the computer.